
How to manage disk partitions on a Mac

Here's how you can manage disk partitions on a Mac:


Open Disk Utility. You can find it by searching for "Disk Utility" in Spotlight or in the Utilities folder within the Applications folder.

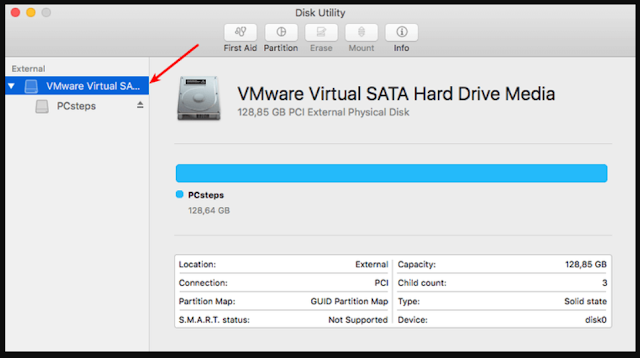
Select the disk or volume you want to partition in the left-side column.

Click the "Partition" button.

Change the partition layout as needed by clicking and dragging the dividers between the partitions.

Adjust the size of each partition by clicking and dragging the edges of each partition.

Choose the format for each partition from the "Format" menu.

Give each partition a name in the "Name" field.

Click the "Apply" button.

Note: Partitioning a disk will erase all data on the disk, so be sure to backup your data before partitioning your disk.


Additionally, it's important to be cautious when managing disk partitions as making changes to disk partitions can have consequences for the stability of your system and the accessibility of your data. It's a good idea to make sure you have a backup of your important files before making any changes.

Comments

Popular posts from this blog

UNIFICATION OF ELECTRICITY AND MAGNETISM

 UNIFICATION OF ELECTRICITY AND MAGNETISM The unification of electricity and magnetism refers to the realization that electric and magnetic phenomena are different aspects of the same underlying electromagnetic force. This unification was first described by James Clerk Maxwell in the 19th century and is considered one of the cornerstones of classical physics. Maxwell's equations, which describe the behavior of electric and magnetic fields, show that a changing electric field produces a magnetic field, and that a changing magnetic field in turn produces an electric field. This means that electric and magnetic phenomena are intimately linked and cannot be understood in isolation from each other. The unification of electricity and magnetism has far-reaching consequences and has played a key role in the development of many areas of physics, including electromagnetism, optics, and quantum mechanics. It has also had a profound impact on our daily lives, leading to technological advances ...

top 5 freelancing platforms you should know

 Here are the top 5 freelancing platforms you should know: Upwork: One of the largest freelancing platforms, Upwork offers a wide range of freelancing opportunities across a variety of fields. Fiverr: A popular platform for creative and digital services, Fiverr is known for its user-friendly interface and easy-to-use tools for freelancers. Freelancer: A global freelancing platform, Freelancer allows freelancers to bid on projects and work with clients from all over the world. PeoplePerHour: A UK-based freelancing platform, PeoplePerHour specializes in short-term, high-value projects. Guru: A US-based freelancing platform, Guru offers a range of project types, from one-time projects to long-term contracts. These platforms typically take a commission from each transaction made through the site, but they provide a convenient and efficient way for freelancers to find clients and work on projects. Before choosing a platform, it's important to research each one to determine which one bes...

Configure Backup and Restore in Windows 10

To configure backup and restore in Windows 10, follow these steps: Open the Control Panel and click on "System and Security." Click on "Backup and Restore (Windows 7)" and then click on "Set up backup." Select the location where you want to store the backup, either on an external hard drive, network location, or OneDrive. Choose the files and folders you want to include in the backup. By default, Windows will select the most important files and folders, but you can add or remove items if needed. Click "Next" and then "Save settings and run backup." Windows will now create a full backup of your system and store it in the location you selected. To restore from a backup in Windows 10: Open the Control Panel and click on "System and Security." Click on "Backup and Restore (Windows 7)" and then click on "Restore my files." Follow the instructions on the screen to browse for the backup you want to restore and sel...